
Timeline
Master the timeline editor for precise funscript point editing.
Overview
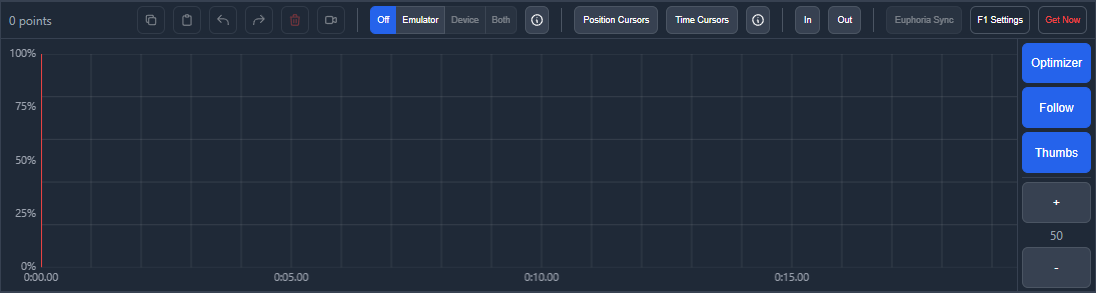
The timeline is the primary editing area where you create and modify action points. It displays time on the horizontal axis and position (0-100) on the vertical axis.
- Blue dots - Action points in your script
- Yellow highlight - Currently selected points
- Red cursor - Current playback position
- Gray lines - Connecting lines between points
Adding Points
Add new action points by clicking on the timeline canvas:
- Position the playback cursor where you want the point
- Click at the vertical position (0 = bottom, 100 = top)
- A new point appears at the clicked location
Points are automatically connected with lines to show the script path.
Selecting Points
Select points to move, delete, or apply tools:
- Single select - Click on a point
- Box select - Hold Shift and drag to draw a selection box
- Add to selection - Hold Ctrl and click points
- Select all - Press Ctrl + A
- Deselect all - Press Escape or click empty space
In/Out Points
In/Out points let you define a time range for selecting points or marking sections of your script. They appear as colored triangular markers on the timeline.
Setting In/Out Points
There are multiple ways to set In/Out points:
- Keyboard - Press I to set the In point at the current playback position, then press O to set the Out point and select all points in the range
- Header buttons - Use the In, Out, and Clear buttons in the timeline header
- Context menu - Right-click on the timeline and choose "Set In Point Here" or "Set Out Point Here" to set the point at the clicked position
Adjusting In/Out Points
Once set, In/Out point markers can be dragged to adjust their position. Click and drag the triangular handle to reposition the marker.
Clearing In/Out Points
Press Escape to clear In/Out points progressively:
- First press clears the Out point (useful for repositioning while playing)
- Second press clears the In point
You can also use the Clear button in the timeline header or right-click and choose "Clear In/Out Points" from the context menu.
Moving Points
Move selected points by dragging or using keyboard:
Mouse Dragging
- Select the points you want to move
- Click and drag any selected point
- All selected points move together
- Release to confirm the new position
Keyboard Movement
- Up / Down - Move position by 1
- Left / Right - Move time by 1 frame
- Add Shift for larger movements (5x)
Deleting Points
Remove points from your script:
- Select the points to delete
- Press Delete or Backspace
You can also use the Delete button in the controls bar.
Navigation
Navigate through the timeline:
- Pan - Middle-click and drag, or use the scroll wheel horizontally
- Jump - Click on the Script Overview to jump to that position
- Follow playback - Enable auto-scroll to follow the cursor during playback

Zoom Controls
Adjust the timeline zoom level for detailed or overview editing:
- Mouse wheel - Hold Ctrl and scroll to zoom in/out
- Zoom buttons - Use the + and - buttons in the timeline header
- Keyboard - Page Up to zoom in, Page Down to zoom out
Zooming centers on the current playback position or mouse cursor.
Grid Display
The timeline shows a grid for reference:
- Vertical lines - Time markers (seconds, frames)
- Horizontal lines - Position markers (0, 25, 50, 75, 100)
Grid density adjusts automatically based on zoom level. Grid visibility and snap-to-grid behavior can be configured in Settings under the Timeline tab, along with snap size, seek interval, and optimizer settings.
Video Thumbnails
When hovering over the timeline, a thumbnail preview of the video at that time position appears as a tooltip. If the ScriptCompiler Bridge is installed, thumbnails can be pre-generated and cached for faster previews. A progress overlay appears in the timeline area during thumbnail caching.
Keyboard Shortcuts
| Shortcut | Action |
|---|---|
| Ctrl + A | Select all points |
| Escape | Clear Out point (1st press), clear In point (2nd press), deselect all |
| Delete | Delete selected |
| A | Add point at current time (50% position) |
| I | Set In point (start of selection range) |
| O | Set Out point and select points in range |
| Ctrl + Z | Undo |
| Ctrl + Y | Redo |
| Ctrl + C | Copy selected |
| Ctrl + V | Paste |
| Arrow keys | Move selected points |
| Page Up | Zoom in |
| Page Down | Zoom out |